
Despite my babbling, ranting, and philosophical searchings of society, part of this blog's purpose is to showcase my talents and give me an outlet to improve my professional work. Most of the time, the focus will be photography, but since my love affair for Photoshop has been going strong for over six years now, I will have to pay homage to it every once and again. Today is one of those days.
In the process of editing a few photos for a brochure I designed at my previous place of employment, my dad took a peek over my shoulder. To feed his insatiable curiosity, I showed him my process of editing this particular photo. It was a shot of an adorable little girl getting her face painted at a Fall Festival. Her smile was bright and sincere, but her eyes were closed. Like most photogs, I started with Curves, adjusted the highlights and shadows, brightened the midtones, touched up a couple harsh spots, etc. Then I worked some magic to open the girl's eyes and touched them up to make them brighter and even more adorable.
My dad's reaction: "You're a magician!"
Aw, shucks, pops. *scuffs toe and blushes*
One of the great joys of photography is the capacity to create something beautiful from ... well just a something. My project today was to take a mediocre family portrait that I took last Christmas Eve and, mixed with a few tutorials and some individual ingenuity (if I do say so myself), to fashion a Christmas Card. I already know my family won't use it, since my parents tend to write wordy letters of what we did this year, etc, but hell, it David Copperfield away the past three hours and gave me a blog. I'm happy.
The typical greeting card is just a touch off from a 4x6 photo, generally a bit bigger. But, as of late, card companies are building their template in all kinds of sizes. So I stuck to my personal favorite proportion, which fits the general greeting card envelope with a touch extra confetti room - 4.25x6. That way you can slip a snapshot in there as well.
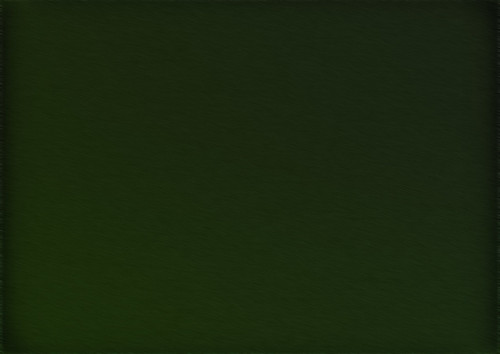
I wanted to quick christmas-y backdrop - a tree decorated with twinkly lights. Due to copyright laws, I can't just google it, so I hunted through a few free stock photo sites, to no avail. So I made things more complicated and decided to re-create the backdrop floating around in neverland (ie: my brain). I won't divulge all of my secrets, but I used the same technique from a tutorial I used a couple years ago for grass, added an extended motion blur, and voila, abstract-ish pine needle-y effect.
Now the lights. In photo-world, the effect of blurred twinkly lights is called a "bokeh effect." There's a complicated-ish science to achieving the bokeh effect when you're shooting with a camera, but the basic gyst is having a "fast" aperture (ie: a big giant hole that lets in more light) and the right size lens to properly portion the light-to-face ratio (if you're using the bokeh effect as a backdrop to a portrait - which is gorgeous). I'll link a website with a bokeh effect tutorial with my sources. I ended up using someone else's bokeh tutorial to fashion my own. I layered his suggestion with a few blur and opacity effects to get the look I wanted.
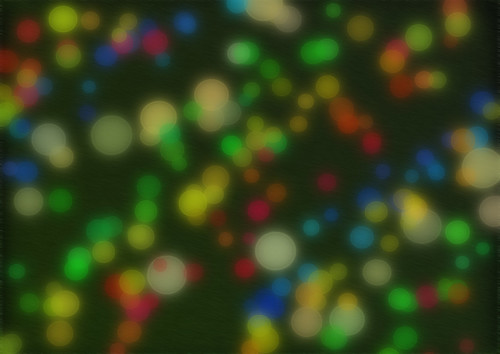
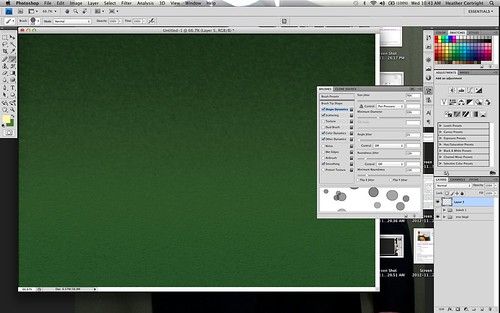
The tutorial is actually kind of genius, aside from it not telling you how to manipulate the brush settings to make the crazy-randomized-twinklies. So I winged it, bumping up some scatter and various jitter features to really hype up some randomnessosity.
Then, I grabbed a family photo, used the magnetic lasso to quickly separate the peeps and drop the background (do other touch-ups with the lasso tool, holding down opt to get rid of pieces, and shift to add), and moved them over to my project.
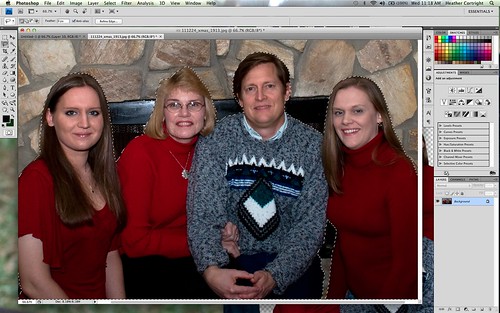
I learned a long time ago how to get rid of the harsh effect on the outside of a dropped image, but I'm attaching a tutorial that gives you one of the thousands of ways to do it. It's not wholly accurate, though. The "feather" option is under Select>Modify. And personally, I find it more efficient to feather the edges of the inverse of your layer selection, rather than feather the actual image. So you select your piece that's standing out too much (in this case, my family), select the inverse. Go to Select>Refine Edge, and Expand it by a pixel or two. Then Go to Select>Modify>Feather. Voila.

Add some text with some fun effects to it. A quick, easy, and neat way to give your text some depth and make it pop is to use some combo of drop shadow, internal shadow, satin, and bevel/emboss. In my case, I wanted to make the text a bit thicker before I added the effects, so I put a stroke on it that was the same color, smart object, rasterize, and then went ahead and treated the thicker, rasterized text as I would usual text, adding all of the above.

Then I painted over the edges to keep the eye drawn in rather than bouncing to the edges of the image, and I'm done!

In all perfectionist honesty, I would probably touch up the glare on my mom's glasses a bit, and made the text a festive, textured, plaid ribbon, but quite frankly, I'm out of time. So perhaps next week I'll spend some time on turning text into a 3D effect ribbon... perhaps. For this week's photoshop tutorial, however, I bid you Adieu!
Sources:
Grass - My Ink Blog
Bokeh - Abduzeedo
Feather Edges - Genius DV
Other fun Christmas Tutorials to come :)
Never quite happy are you, but you definitely took a blah photo and made it worthy of sending out, maybe los padres will use it as part of the letter this year.
ReplyDelete